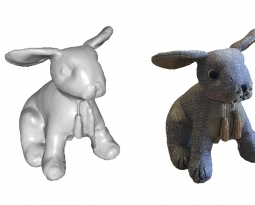
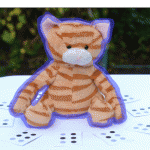
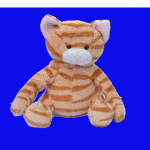
With the release of our new BETA (http://www.3dsom.com/beta) we’ve started working on simplifying the workflows when digitising objects. We’ve used the “Toy Bear” model that’s featured on our Sketchfab page (https://sketchfab.com/3dsom) to give an example of what this new workflow can produce. There are a number of new features that we’ve used to produce this model which we’ll describe below:
- Simplified Masking
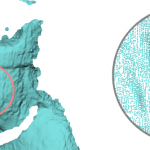
- Alternative camera tracking using “domino” targets
- More flexible image sources – in this instance mobile phones
If you follow a similar workflow to what we’re describing here you should be able to quickly create your own models.
The process we followed:
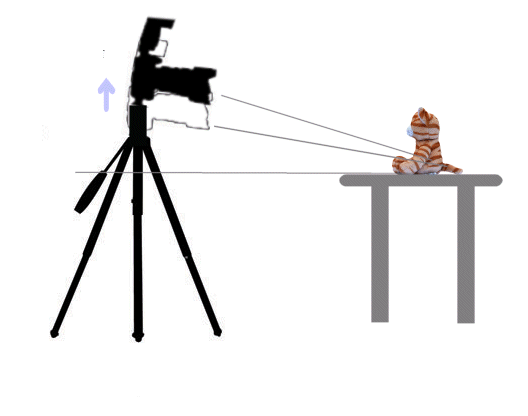
- Select your subject we selected a teddy for our example
- Print out the 3DSOM “domino” targets by launching the software and hitting the Print mat… button

- Place some domino markers around the subject
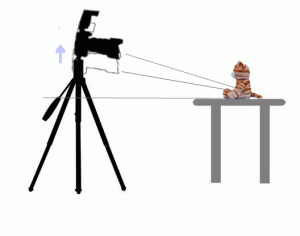
- Take some photos of the subject. It’s best if you capture images all around the subject from two heights – a low down angle and a higher up angle with about a 10 to 15 degree separation between them.
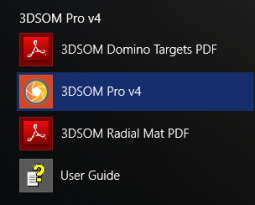
- Load into 3DSOM BETA
- Apply quick masking by selecting the “Mask all images…” button

and selecting “Photographed without backdrop” to quickly sketch the masks from a selection of views. The “magic marker” masking wizard will be launched so you can quickly paint around the object edges. 3DSOM will create an accurate mask from the highlighted edges (example below):
- Press the “Make All…” button

- The software will then build your model (example below)

Why not upload to Sketchfab and send us a link or tweet the example to us @3DSOMPRO #3DSOM-BETA
More info:
For more detailed instructions on this workflow check out the online User Guide here…