The Capture Process
4 Simple Steps
3DSOM – 3D model creation in 4 simple steps
1. The Photo Shoot
To scan a model 3DSOM Pro requires a number of photos taken around an object. These can be taken in a number of different ways:
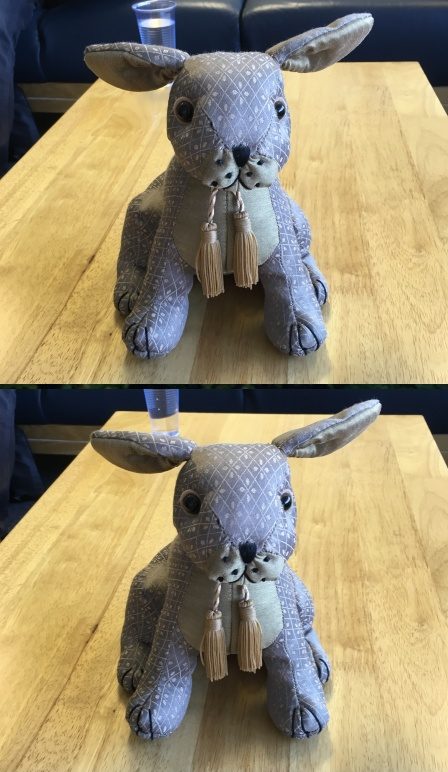
- NEW “Marker-less”: The simplest workflow. Walk around the object taking pairs of shots taken from slightly different angle without markers. More details…
- Easy workflow: As above but with special markers placed around the base of the object. More details….
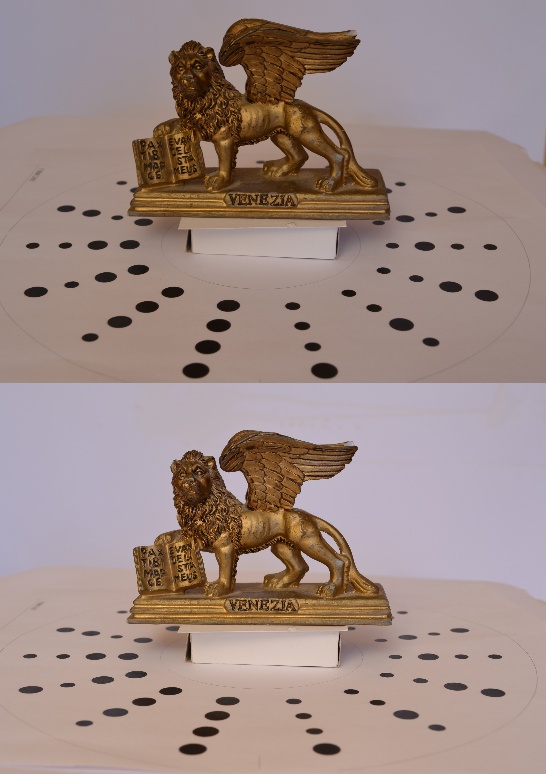
- Medium difficulty workflow: Place the object on a simple manual turntable, take pairs of shots and then rotate the object. More details…
- Hardware rig: The object is placed on a computer controlled turntable and sequences of shots are taken for different purposes (calibration, using a digitally projected stripe pattern, and normal shots).
From version 5, we no longer require printed calibration targets in the scene. Calibration targets can still be used for studio environments or very plain objects, making camera motion recovery more robust especially if you can’t take lots of overlapping shots. For the latter two approaches, a contrasting backdrop can be used to simplify masking in the next stage which allows the 3D model to be cleanly separated from the background geometry.
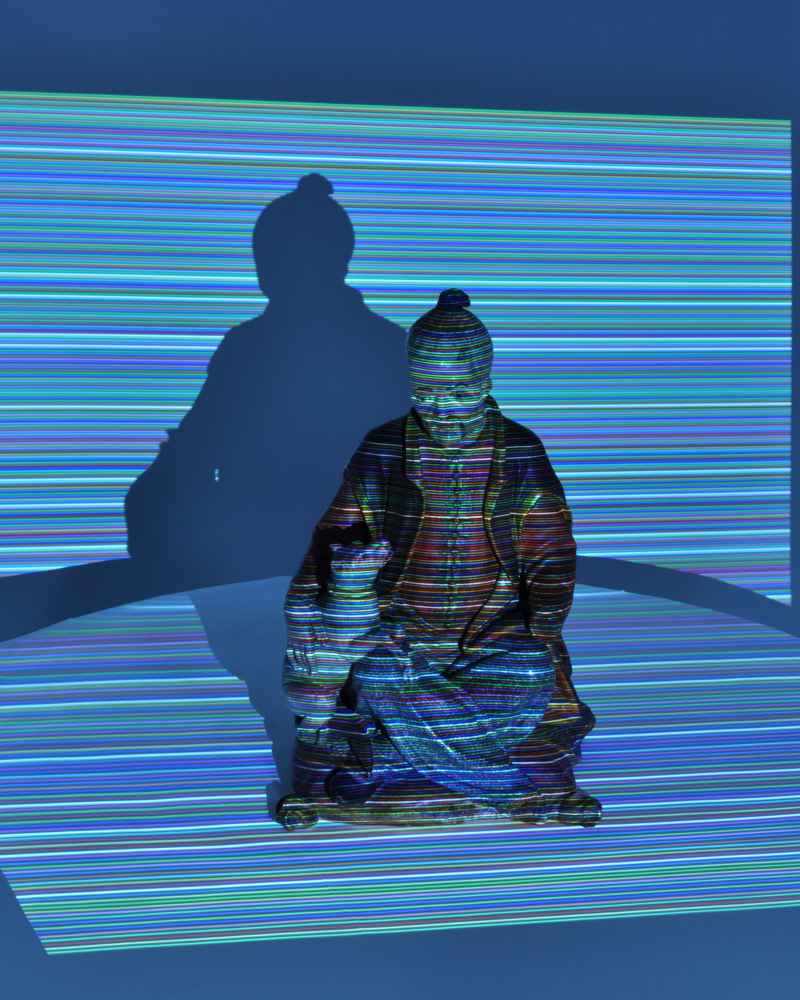
To capture more accurate geometry a projected stripe pattern can optionally be used. The stripe pattern is provided with the software as a slide for use with a standard digital projector. For each rotated position of the object 3DSOM Pro requires two vertically spaced views of the object illuminated by the projector.

2. Masking a few key Images

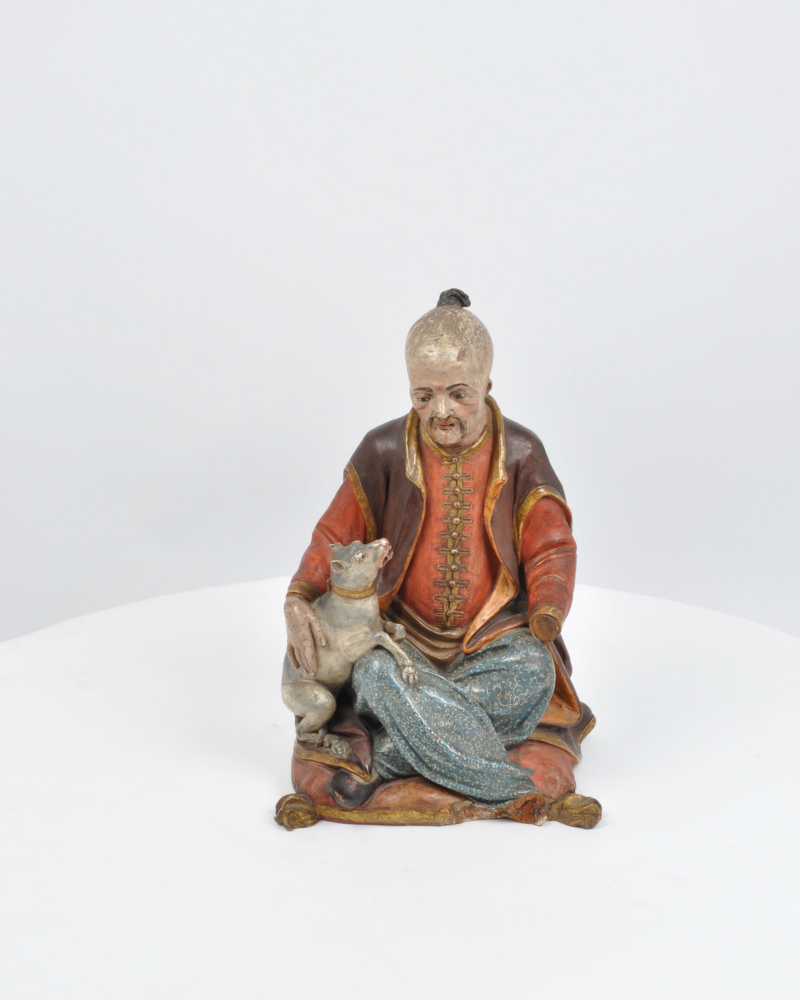
With the images loaded into the software, 3DSOM Pro can automatically masks all the images (separating the object from the background) with a single mouse click. If the contrast between foreground and background is not great (e.g. you didn’t use a backdrop) then you need to manually mask between 5 and 10 “key” shots. The new masking wizard leads you through this process using our new “magic marker” tool.
A powerful set of manual and semi-automatic masking tools are also provided. Accurate masking in 3DSOM Pro can be achieved quickly and easily.

3DSOM Pro will automatically run the following steps….
- Create an initial wireframe mesh
- Construct a point cloud from close image pairs (with or without projected stripes)
- Optimise the surface using the masks and point data
- Build a single high quality texture map that is applied to the model to show the surface colour
Experienced users can intervene to edit the geometry, construct subdivision surfaces, combine multiple scans to capture the underside and edit the textures to change the model appearance using a comprehensive and powerful set of modelling tools.
4. Exporting the final model/publish in webGL or upload to the cloud

Once you are happy with the model, it can be exported for import into other authoring packages and applications. Integrating 3DSOM Pro into your workflow is important and we have chosen a set of representative export formats that should meet your needs.
3DSOM Pro also supports our webGL format, allowing models to be published in your public Dropbox folder or uploaded to your website. WebGL models can be viewed in desktop browsers or mobile devices as an interactive 3D presentation. You can also upload straight to Sketchfab – a popular cloud-based 3D publishing solution.